Method: The first step in our creation of a Field Navigation Map was not a reference map, but actually a crude method of measurement. To come up with this method each student walked 100 meters 4 times and recorded their pace count. Then, from each group, the person with the most consistent pace count won the job of measuring the distances. My pace counts came up 69x3 and 68.
We then went inside to start making a reference map that we could bring out into the field with us.
The first thing was to add the aerial map to ArcMAP. By adding this basemap first we are able to add any additional layers and they will 'project on the fly' to the appropriate projection. The area of interest(AOI) is the Priory in Eau Claire, WI.
 |
| Here is the aerial picture with the boundaries and grid already added to the area of interest(AOI). |
 |
| Zoomed in view of the AOI with boundaries added |
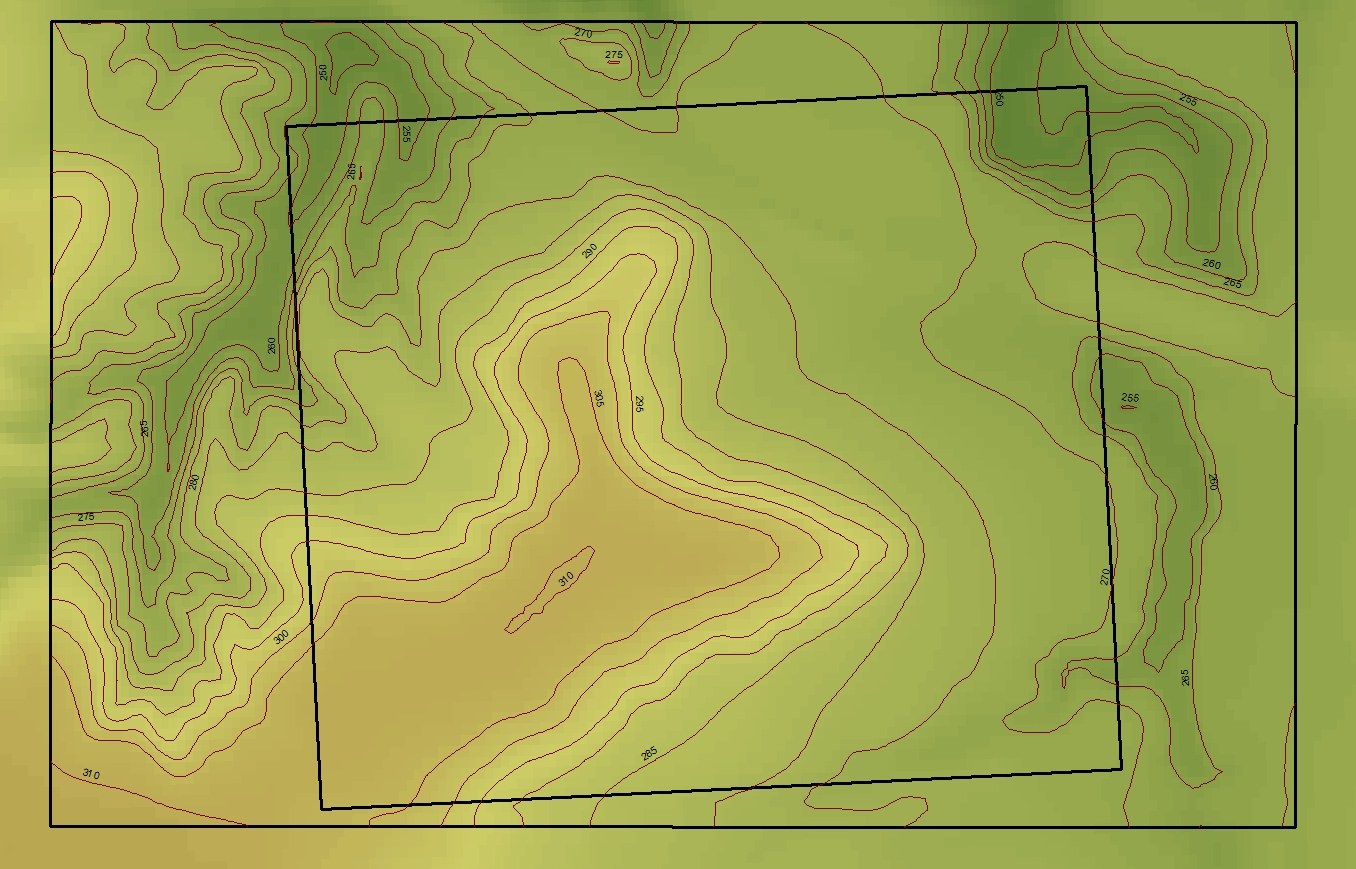
After adding the basemap and boundaries the next step was to make two maps. One map was to be just a reference map that you could refer to when out in the field. Purpose of the reference map is mostly to be able to get a bearing of your location by landmarks, tree lines, etc. Along with general landmarks we also wanted some general topology and a grid system for further reference.
 |
| AOI with 5 foot contour lines |
 |
| Grid overlay |


Discussion: This was just the first part before actually going out into the field and doing some navigation and work. As in all other exercises in this class, the repeated theme is to be prepared before going out to do your field work. This exercise was no exception. It was important to have a workable base map with usable data on it like the grid and contour as well as having a somewhat accurate way to measure distance.
Conclusion: I think this was a good start prior to doing the actual field work. It also gave me some more experience with dealing with map projections.
No comments:
Post a Comment